How to Properly Attach Coaxial Cable Connectors

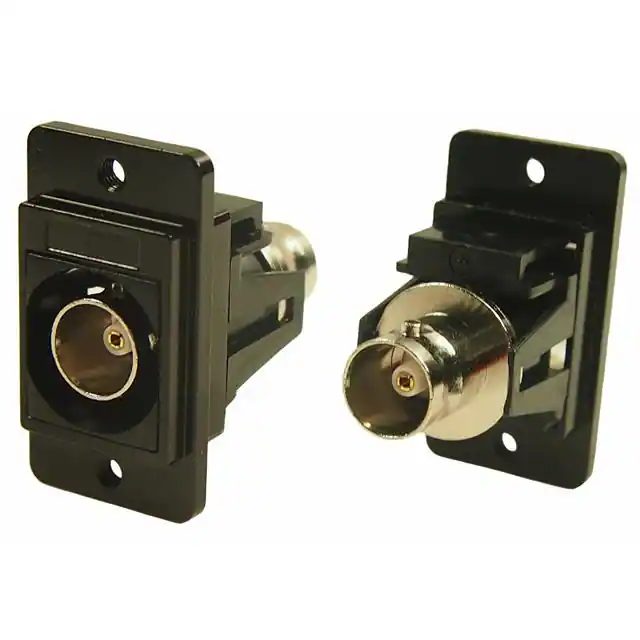
Learning how to attach coaxial cable connectors is important. It helps keep signals strong and reliable for your devices. Secure connections made with coaxial connectors ensure that TVs and internet work their best. Badly attached connectors can cause signal loss or interruptions. They might even harm your equipment if not done right. Follow simple steps to do this, even as a beginner. Use the correct tools and take your time carefully. You’ll create a good connection that works like a pro’s job.
Key Takeaways
Gather essential tools like a coaxial cable stripper, crimping tool, and quality connectors to ensure a strong and reliable connection.
Choose the right type of coaxial connector (F-type, BNC, RCA) based on your specific device needs to maintain signal strength.
Carefully prepare your coaxial cable by stripping the outer cover and ensuring the center wire is straight and clean for optimal performance.
Use either crimping or screw-on methods to attach connectors securely, checking for tightness to prevent signal loss.
Always test your connection with devices after installation to confirm clear signals and troubleshoot any issues promptly.
Invest in high-quality connectors and tools to avoid future problems and ensure long-lasting performance.
Take your time during each step of the process; careful preparation and installation lead to better results and fewer issues down the line.
Tools and Materials Needed to Attach Coaxial Cable Connectors
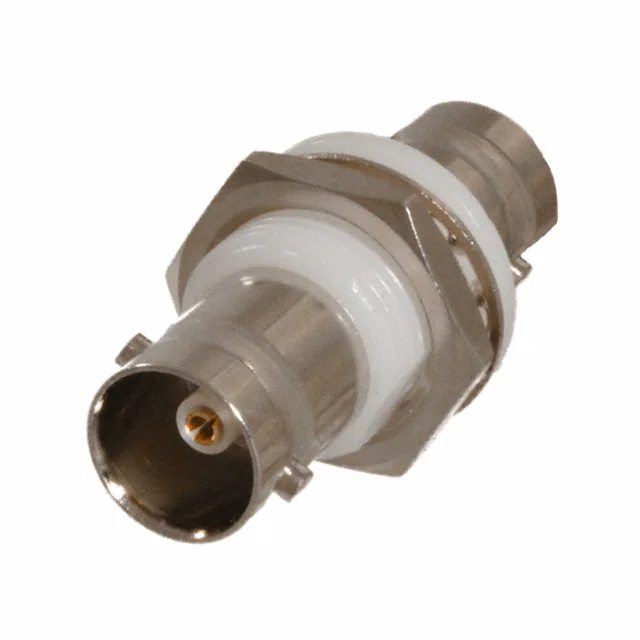
Before starting, gather the right tools and materials. Having them ready makes work easier and ensures a strong connection. Here’s what you’ll need.
Important Tools
You need some basic tools to handle coaxial cables. These help prepare the cable and attach connectors correctly.
Coaxial cable stripper or utility knife: This tool removes the cable’s outer cover. It avoids damaging inside layers. A stripper is easy to use, but a knife works too.
Crimping tool or compression tool: These secure the connector onto the cable tightly. Crimping tools press crimp connectors, while compression tools lock others in place.
Wire cutters: Use these to cut cables to the right size. They make clean cuts for better results.
Screwdriver (if needed): Some connectors might need a screwdriver for setup. Keep one nearby just in case.
Materials
Good materials are key for a strong connection. Using quality parts keeps signals clear and reduces problems.
Coaxial cable (e.g., RG6 or RG59): Pick the correct type of coaxial cable for your needs. RG6 is great for TV or internet, while RG59 suits security systems.
Coaxial cable connectors (e.g., F-type connectors): These attach cables to devices easily. F-type connectors are common at home because they’re simple and reliable.
Electrical tape (optional): Tape can add extra protection if needed. It secures connections and stops them from coming loose.
Pro Tip: Always pick good-quality coax connectors. Cheap ones weaken signals and cause issues later on. Reliable ones last longer and work better.
By getting these tools and materials ready, you’ll be prepared to start attaching connectors properly!
How to Pick the Best Connector for Your Coaxial Cable
Picking the right connector is very important. It helps keep signals strong and avoids problems. There are many types, so knowing how to match them with your cable makes it simple.
Types of Coaxial Cable Connectors
Connectors have different uses. The one you need depends on your devices and setup.
F-type connectors for home setups
F-type connectors are common in homes. They work with TVs, satellites, and internet modems. These connectors are easy to use and give a steady connection. You screw them onto the cable for a snug fit that reduces signal issues.
BNC connectors for security or professional systems
BNC connectors are used in professional places. They’re great for video gear, RF tools, and security cameras. Their locking design keeps them tight and secure. Use these if working with surveillance or broadcasting equipment.
RCA connectors for audio/video devices
RCA connectors connect sound and video devices like old TVs or DVD players. They have colors—yellow for video, red/white for sound—for easy use. Though less common now, they still work well in certain setups.
Quick Tip: Check your device’s ports to pick the correct connector type.
Matching Connectors to Cables
After choosing a connector type, make sure it fits your coaxial cable properly.
Match the cable type (e.g., RG6 or RG59)
Coax cables come in types like RG6 and RG59. RG6 is thicker and handles high-frequency signals well, perfect for TV/internet use. RG59 is thinner and better suited for low-frequency tasks like security systems. Always pair the right connector with your cable type to avoid bad connections.
Think about what you’re connecting (e.g., TV or security system)
Consider what device you’re using it for. F-type connectors with RG6 cables work best for TVs or modems. For cameras, BNC connectors with RG59 cables are ideal choices. Matching both ensures everything works perfectly together.
Pro Tip: If unsure, check your manual or ask an expert.
By learning about coaxial connectors and matching them correctly to cables, you’ll get great results! A good match means strong signals and smooth device performance.
Step-by-Step Guide to Get the Cable Ready
Preparing your coax cable is important for a strong connection. Follow these simple steps to get your cable ready for connectors.
Removing the Outer Cover
The first step is taking off the outer cover. Be careful not to harm the inside layers. Here’s how:
Use a coaxial cable stripper or knife: Place the tool on the cable and gently cut through the outer layer. Turn it slowly around the cable for a clean cut. If using a knife, go slow and avoid cutting too deep.
Reveal braided shield and foil: Pull back the outer cover to show the braided shield and foil underneath. Don’t rip or damage them; they are important for signals.
Cut away white insulator: Remove the white insulator to expose the center wire. Make sure this wire is smooth, straight, and not bent or scratched.
Pro Tip: Check your work after stripping. Leftover bits can weaken signals.
Setting Up the Wire
After removing covers, arrange wires properly so connectors fit well and signals stay strong.
Fold back braided shield: Gently pull back and spread out the braided shield evenly over the outer cover. This helps block interference.
Straighten center wire: Look at the center wire to ensure it’s straight and clean. If bent, carefully straighten it with your fingers.
Quick Tip: Take time here! A neat setup makes attaching connectors easier.
By following these steps, you’ll prepare your wire correctly for connectors. Good preparation leads to better connections that last longer!
How to Install a Coax Connector
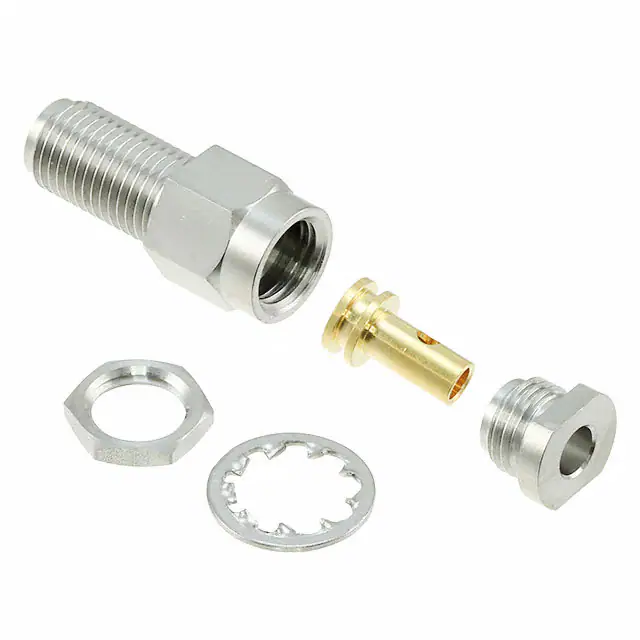
Putting a connector on your coax cable is the last step. This ensures your connection stays strong and works well. You can use crimp connectors or screw-on connectors. Follow these steps to do it right.
Crimping or Compression Method
This method is common for making secure connections. Here’s how you can do it:
Slide the connector onto the cable
Take the prepared cable and slide the connector on carefully. The center wire should fit tightly inside the connector pin. A good fit keeps signals steady without breaks.Use a crimping or compression tool
Put the connector into your crimping or compression tool’s slot. Squeeze firmly to attach it tightly to the cable. This step locks it in place so it won’t loosen later.Check the connection
Look at your work after crimping the connector. Wiggle it gently to make sure it’s secure and not loose. Loose connectors can weaken signals or stop them completely.
Pro Tip: Use good-quality tools and connectors for better results. Cheap ones may not work well, causing bad connections.
Screw-on Method
The screw-on method is easier and doesn’t need special tools. It’s great for quick jobs or when you don’t have crimping tools handy.
Twist the connector onto the cable
Line up the connector with your prepared coax cable end. Twist it clockwise until it feels tight enough to stay in place.Check the center conductor
Look at where the center wire sticks out of the connector tip slightly. This ensures proper contact with devices you’ll connect to.
Quick Tip: Don’t twist too hard! Too much force could break parts of your cable or connector.
Why Proper Installation Matters
Attaching coax connectors properly keeps signals strong and steady over time. Badly attached ones can cause weak signals, interruptions, or damage devices connected to them. Water can also harm connections if they aren’t sealed well, leading to failures later on.
To protect against water, use waterproof tape or butyl mastic adhesive around connections as extra protection from moisture damage.
By following these simple steps, you’ll attach coaxial connectors like an expert! Whether using crimping tools or twisting by hand, take care during each step for lasting results that work perfectly every time.
Testing the Connection After Adding a Connector to a Coaxial Cable
When you’re done attaching the connector, testing is important. It helps make sure everything works well. A quick test can prevent problems like weak signals or device issues later. Follow these steps to check and test your coax cable connection.
Look Closely at Your Work
Start by carefully checking your connection. This helps find any obvious mistakes before using the cable.
Make sure the connector fits tightly and is straight.
Check if the connector is firmly attached to the coax cable. A loose one can cause weak signals or harm devices. Also, ensure it’s straight with no gaps or tilts.
Check for stray wires or exposed parts.
Look for loose wires or uncovered shielding on the cable. These can mess up signals and lower quality. The braided shield and foil should be tucked neatly under the connector. Trim any stray strands you see.
Quick Tip: A neat, secure connection improves performance and lasts longer without issues.
Test with Your Devices
After inspecting, try using the cable with your devices. This confirms that your connection works properly.
Plug in the cable and check for clear signals.
Connect the coax cable to a TV, modem, or other device. Turn it on and see if audio, video, or internet works fine. If everything looks good, your connection is solid! Weak or missing signals mean something might be wrong.
Fix problems like poor signal or loose connections.
If there’s an issue, don’t worry! First, recheck if the connector is tight and aligned correctly. Look for damage like cuts in the cable. If needed, replace the connector or use another cable to test again. A signal tester can also help find what’s wrong.
Pro Tip: Using good connectors and proper methods keeps signals strong over time. Bad connections often lead to weak performance later on.
Testing ensures your coaxial connection works smoothly for all devices. Whether watching TV or browsing online, a strong setup makes things easier and better to use! Take time to inspect and test thoroughly—it’s worth it for reliable results every time.
Now you know how to connect coaxial cable connectors. First, gather all the tools and materials you need. Pick the right connector based on your cable type and use. Prepare the cable neatly, attach the connector firmly, and test it to make sure it works well. Take your time and check your work carefully for better results. Keep extra connectors and tools nearby for future tasks. Doing this correctly gives strong signals, better performance, and fewer problems later. You’re now ready to tackle your next coaxial cable project confidently!
How do I put a connector on a coaxial cable?
First, get the coaxial cable ready. Use a stripper or knife to carefully remove the outer cover without cutting the inside parts. Fold back the braided shield neatly and make sure the center wire is straight and clean. Slide the connector onto the cable so the center wire fits snugly into its pin. If using crimp or compression connectors, secure them with their tool. For screw-on connectors, twist them tightly by hand. Always check that it’s firmly attached and doesn’t move.
Tip: If it keeps falling off, you might have the wrong size connector for your cable. Double-check to ensure they match!
See Also
A Complete Guide to Butt Splice Wire Connectors
Safe and Reliable Connections with Wire Splice Connectors
Exploring Various Types of RF Connectors Available